Mastering the setup and measurement of piston rings in your Seadoo watercraft’s Rotax 1503 4-Tec and 1630 ACE engines is crucial for optimal performance. In this guide, we will provide step-by-step instructions for this essential maintenance task.
1. Gather Tools and Materials:
To begin, assemble the necessary tools: feeler gauges, micrometer, piston ring expander, and a clean, flat work surface.
2. Prepare the Work Area:
Ensure your work area is clean, well-lit, and free from any debris that could compromise accuracy.
3. Remove the Piston Assembly:
Safely disassemble the engine to access the pistons. Take care not to damage any components during this process.
4. Inspect Old Rings:
Examine the old piston rings for signs of wear, scoring, or damage. Replace any rings showing significant wear.
5. Clean the Grooves:
Use a piston ring groove cleaner to ensure the grooves are free from carbon buildup or debris.
6. Measure Cylinder Bore Diameter:
Utilize a micrometer to measure the cylinder bore diameter at multiple points. Record the measurements for reference.
7. Check Ring Gap:
Insert the piston ring into the cylinder bore and measure the ring gap using feeler gauges. Refer to manufacturer specifications for the acceptable gap range.

8. Ensure Proper Ring Orientation:
Each piston ring has a specific orientation. Follow the manufacturer’s guidelines to correctly position the rings on the piston.
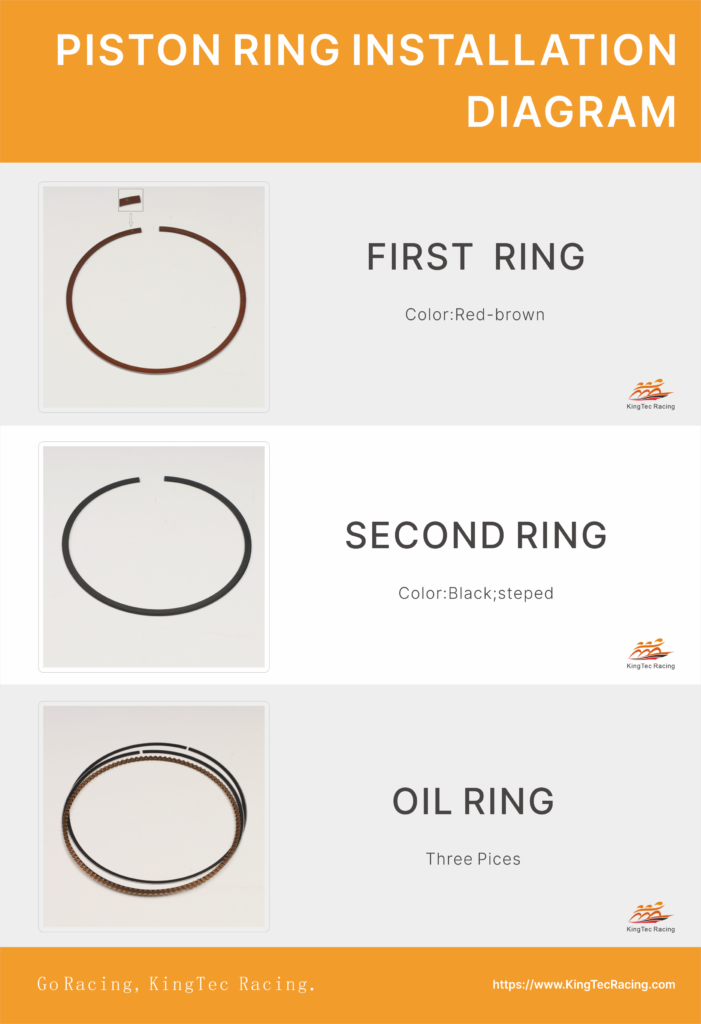
Each piston typically consists of three piston rings, and they are:
1. Top Ring:
Located at the top of the piston ring set, closest to the piston head.
Primarily responsible for sealing the combustion chamber, reducing gas leakage, and improving combustion efficiency.
2. Second Ring:
Positioned in the middle of the piston ring set, between the top ring and the oil ring.
Mainly assists in sealing the combustion chamber and can also provide some lubrication.
3. Oil Ring:
Located at the bottom of the piston ring set, farthest from the piston head.
Its primary function is to control the oil film between the piston and the cylinder wall, reducing friction, and directing excess lubricating oil back to the oil pan.
During installation, these piston rings should be correctly placed on the piston in the specified order and position. Ensuring that each ring is properly installed in its designated location is crucial for the engine to operate smoothly and maintain optimal performance.
9. Install Rings on Pistons:
Gently expand the piston rings using a ring expander and carefully slide them onto the piston, making sure they are seated properly in the grooves.
10. Verify Ring End Gap:
After installation, recheck the ring gap to ensure it falls within the specified range. Adjust if necessary.
11. Reassemble the Piston Assembly:
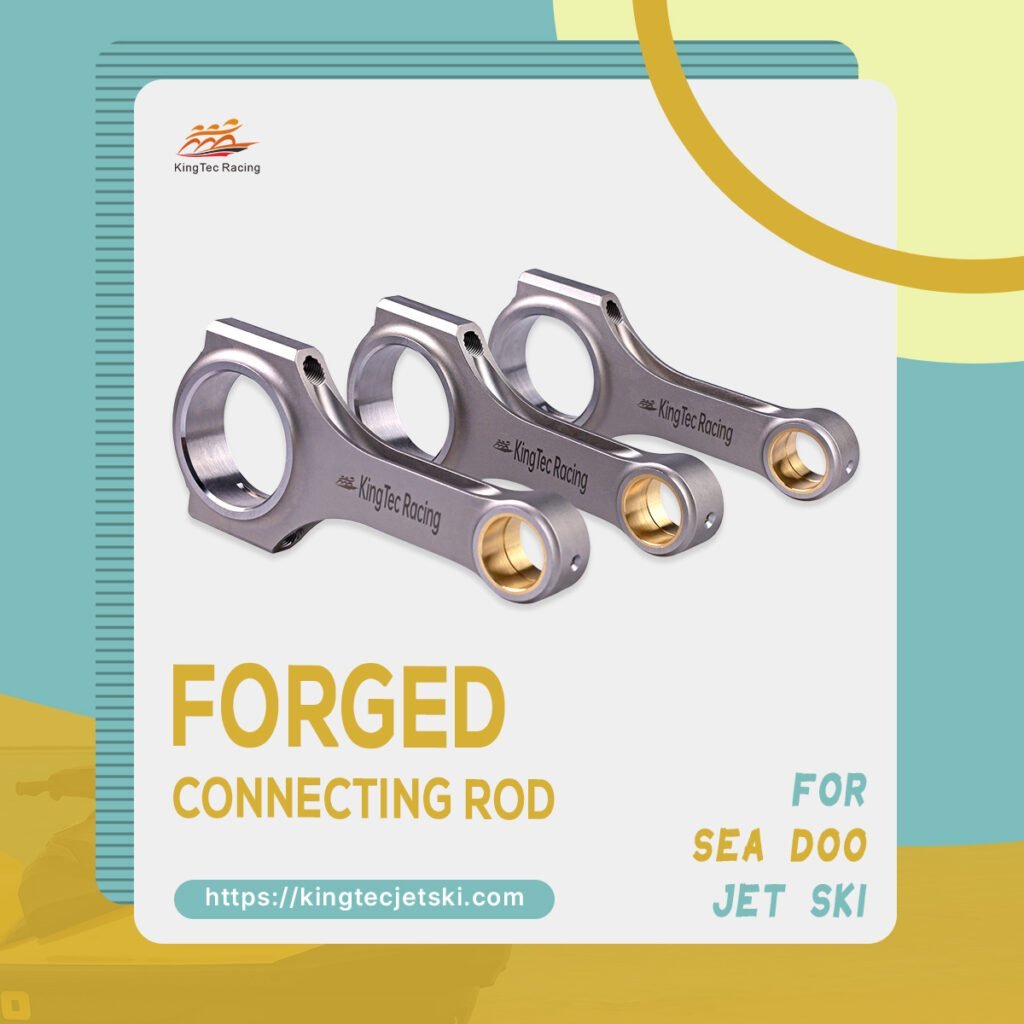
Carefully reassemble the piston and connecting rod, ensuring all components are properly aligned and torqued to manufacturer specifications.
12. Repeat for All Pistons:
Complete the same process for all pistons in the engine, maintaining precision and attention to detail.
13. Perform a Test Run:
Once reassembled, run the engine briefly to ensure everything is functioning smoothly and without any unusual noises.
By following these step-by-step instructions for Seadoo piston ring setup and measurement on Rotax 1503 4-Tec and 1630 ACE engines, you’ll ensure your watercraft performs at its peak. Regular maintenance like this is essential for a long-lasting and reliable Seadoo experience.


