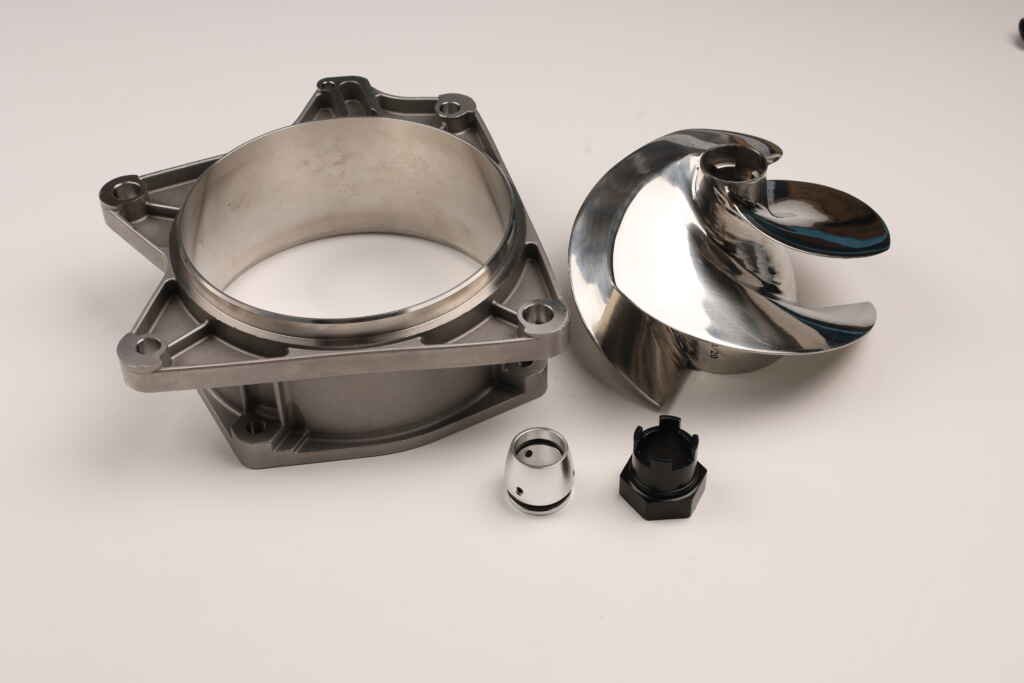
Is your Yamaha GP1800R not performing at its peak? A worn-out supercharger clutch might be the culprit. Don’t worry, replacing the clutch can bring back that exhilarating power and performance you’ve been missing. In this article, we’ll delve into when you should consider replacing the Yamaha supercharger clutch gear and provide a step-by-step guide on how to efficiently swap it out.
When to Replace the Yamaha GP1800R Supercharger Clutch Gear?
Identifying the right time to replace the supercharger clutch gear is crucial. Signs such as reduced acceleration, unusual noises, and decreased overall performance indicate that the clutch gear might be compromised. Additionally, if you notice a decline in supercharger boost or a drop in RPM levels, it’s a clear indicator that a replacement is in order.
Replacing the Clutch Gear: Step-by-Step Guide
Step 1: Gather Your Tools
Before you begin, ensure you have the necessary tools at hand. You’ll need a socket set, wrenches, a torque wrench, and safety gear like gloves and goggles.
Step 2: Disconnect the Battery
Safety first! Start by disconnecting the battery to prevent any electrical mishaps during the replacement process.
Step 3: Remove the Supercharger Cover
Use your socket set to remove the bolts securing the supercharger cover in place. Carefully lift off the cover to expose the supercharger clutch assembly.
Step 4: Release Tension from the Belt
Locate the tensioner pulley and use a wrench to release tension from the belt. This will make it easier to remove the old clutch gear.
Step 5: Remove the Clutch Nut
With the belt tension released, use a socket wrench to remove the clutch nut that holds the old clutch gear in place.
Step 6: Replace the Clutch Gear
Gently slide the old clutch gear off the shaft. Align the new clutch gear with the shaft and slide it on carefully
Step 7: Secure the Clutch Nut
Tighten the clutch nut with a torque wrench to the manufacturer’s recommended torque specifications. This is crucial for proper operation and safety.
Step 8: Reassemble the Supercharger
Reverse the steps to reassemble the supercharger components. Ensure the supercharger cover is properly aligned and secured with the bolts.
Step 9: Reconnect the Battery
Reconnect the battery to restore power to your watercraft.


Step 10: Test and Verify
Fire up your Yamaha GP1800R and take it for a test run. Monitor the performance closely, ensuring that the clutch gear replacement has restored the power and responsiveness you expect.
In conclusion, if your Yamaha GP1800R is exhibiting signs of reduced performance, it might be time for a supercharger clutch gear replacement. By following our step-by-step guide, you can confidently replace the worn-out gear and bring back the thrilling power and acceleration that defines the GP1800R. Remember, proper maintenance ensures that your watercraft continues to provide peak performance and enjoyment for years to come.
Similar recommendations
Replace Your Yamaha SHO or SVHO Supercharger Clutch for Optimal Performance
Enhance Your Yamaha Motorcycle with the Yamaha Billet Throttle Body Mount Adaptor
Upgrade your jet ski – a complete set of performance parts you deserve!


