Introduction
Are you an avid Sea-Doo enthusiast experiencing performance issues with your 4-TEC engine? Perhaps you’ve noticed reduced power, rough idling, or excessive exhaust smoke. In such cases, it might be time to consider a valve replacement. This guide will provide a step-by-step explanation of the entire process, from disassembling the valves and engine to installing new ones and reassembling the engine. Follow these instructions to ensure a smooth and successful replacement that will have your Sea-Doo running like new again.
Part 1: Disassembling the Valves and Engine
1. Gather the Necessary Tools
Before starting the valve replacement process, ensure you have all the required tools on hand. You’ll need a socket set, screwdrivers, pliers, a valve spring compressor, a torque wrench, and a gasket scraper.
2. Prepare the Sea-Doo for Work
To access the engine and valves, you’ll need to remove the seat, engine cover, and any other components that obstruct your way. Disconnect the battery to prevent any electrical mishaps during the procedure.
3. Remove the Exhaust System
Detach the exhaust system carefully, starting with the manifold and working your way towards the muffler. Keep track of the bolts and gaskets for reassembly later.
4. Take Off the Cylinder Head Cover
Loosen and remove the bolts securing the cylinder head cover. Carefully lift it off to reveal the valves and valve springs.
5. Release Valve Springs
Using a valve spring compressor, compress the valve springs one at a time, and remove the keepers, allowing you to release the tension and take out the old valves.
6. Inspect valves and Components
Thoroughly inspect the valves, valve springs, keepers, and other related components for signs of wear or damage. Replace any faulty parts before proceeding.


Part 2: Valve Installation and Engine Reassembly
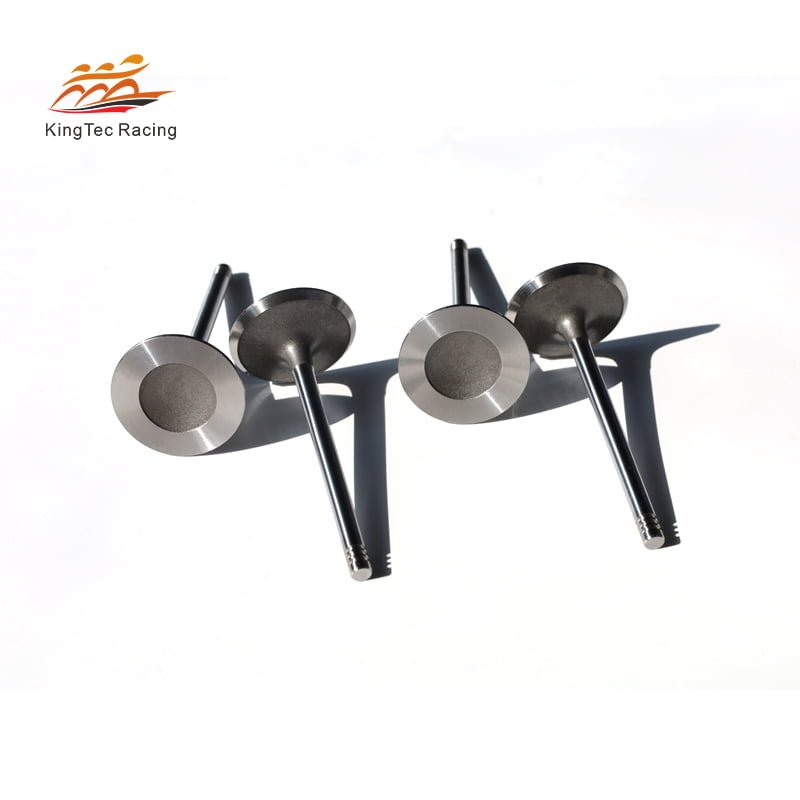
1. Install new valves
Carefully place the new valves into their respective positions. Ensure they fit snugly and align correctly.
2. Reassemble Valve Springs
Reattach the valve springs with the help of the valve spring compressor. Insert the keepers to secure the valve springs in place.
3. Clean and Prepare Cylinder Head Cover
Clean the cylinder head cover and remove any old gasket material using a gasket scraper. Install a new gasket and position the cylinder head cover back onto the engine. Tighten the bolts according to the manufacturer’s specifications.
4. Reattach the Exhaust System
Reconnect the exhaust system components, ensuring that all gaskets and bolts are in place and properly tightened. This will prevent any exhaust leaks.
5. Reassemble Other Engine Components
With the valves replaced and the cylinder head cover secured, start reassembling other engine components you previously removed.
6. Test Run and Final Check
Before starting the engine, double-check all the connections and fasteners to ensure everything is in place. Reconnect the battery and start the Sea-Doo to test the engine’s functionality. Listen for any abnormal noises or signs of improper installation.
Conclusion
Performing a Sea-Doo 4-TEC engine valve replacement might seem like a daunting task, but with the right tools and a step-by-step approach, it becomes manageable. Regular maintenance and timely valve replacements can significantly enhance your Sea-Doo’s performance and prolong its lifespan. Remember to follow manufacturer guidelines and use high-quality replacement parts for the best results. If you’re unsure or uncomfortable with the procedure, consult a professional mechanic to assist you. With a properly functioning engine, you can get back to enjoying the thrilling experiences of riding your Sea-Doo on the water. Happy riding!


